
Use Siri to Configure Your ASUS Router - Part 3
Part 1 - Capture the commands
Part 2 - Setup Linux and Create Scripts
Part 3 - Install and Configure TriggerCMD
Part 4 - Configure iOS Shortcuts and use Siri
Install and Configure TriggerCMD
If not done so already, you will need to signup for a TriggerCMD account. You can go ahead and do so here: https://www.triggercmd.com/user/auth/signup
Once logged in, go to Instructions, and locate your token. Make note of this as we will need it in a moment.
Locate and copy the download link for TriggerCMD applicable to your OS. You can do this in chrome by right-clicking on the link and selecting copy Link Address.
ssh into your linux server
Download the latest file using wget, paste the link from earlier.
wget https://s3.amazonaws.com/triggercmdagents/triggercmdagent-1.0.1.x86_64.rpm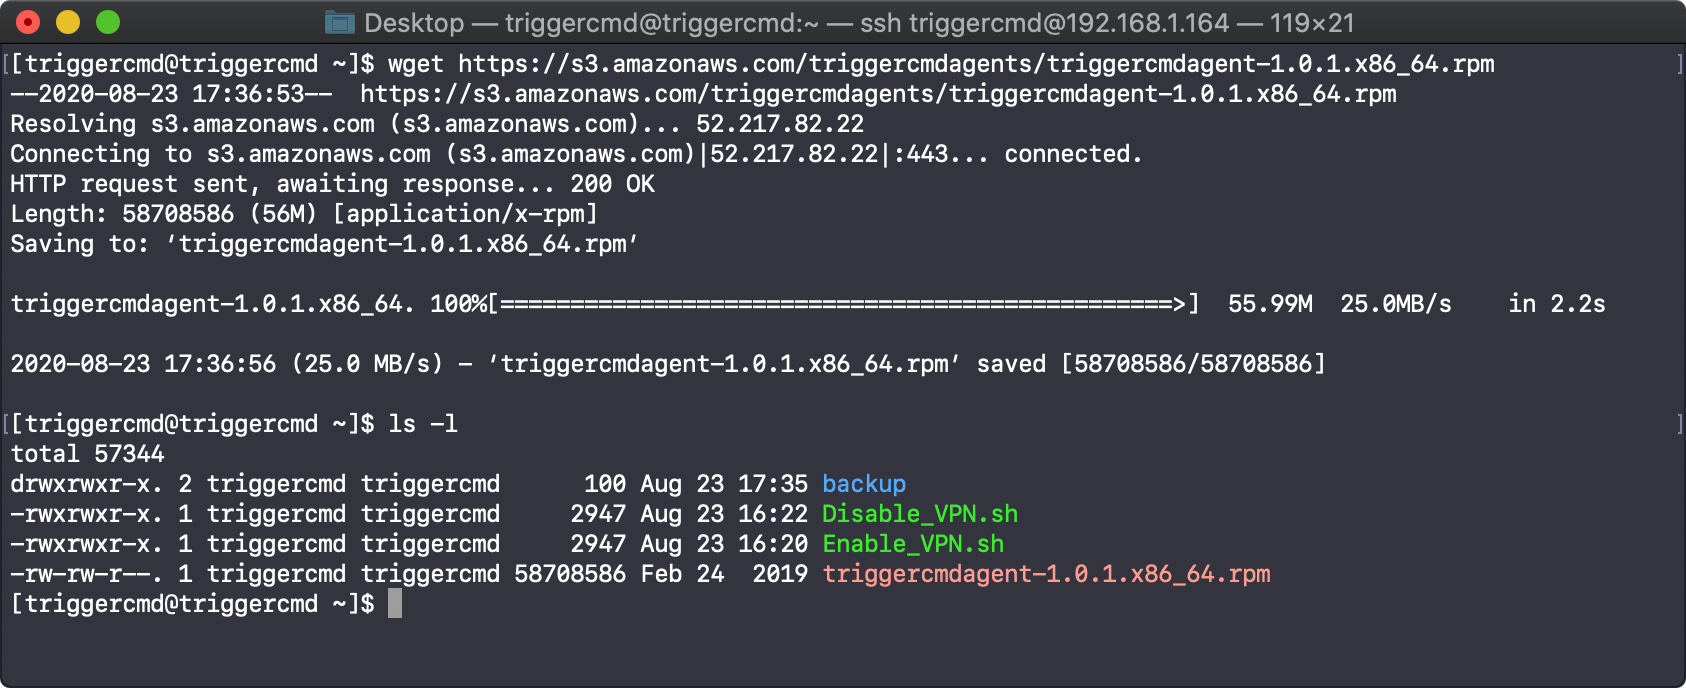
Install the RPM Package
Thanks to Russ who provided these instructions for Ubuntu, which I have adapted to work for CentOS
sudo yum --nogpgcheck localinstall triggercmdagent-1.0.1.x86_64.rpm -yMake sure to run this with sudo, otherwise, the token won't be populated for the root account, and the service will fail to start properly
sudo node /usr/share/triggercmdagent/resources/app/src/agent.js --consoleWhen prompted, paste in your triggercmd token
If done correctly, you should see the following
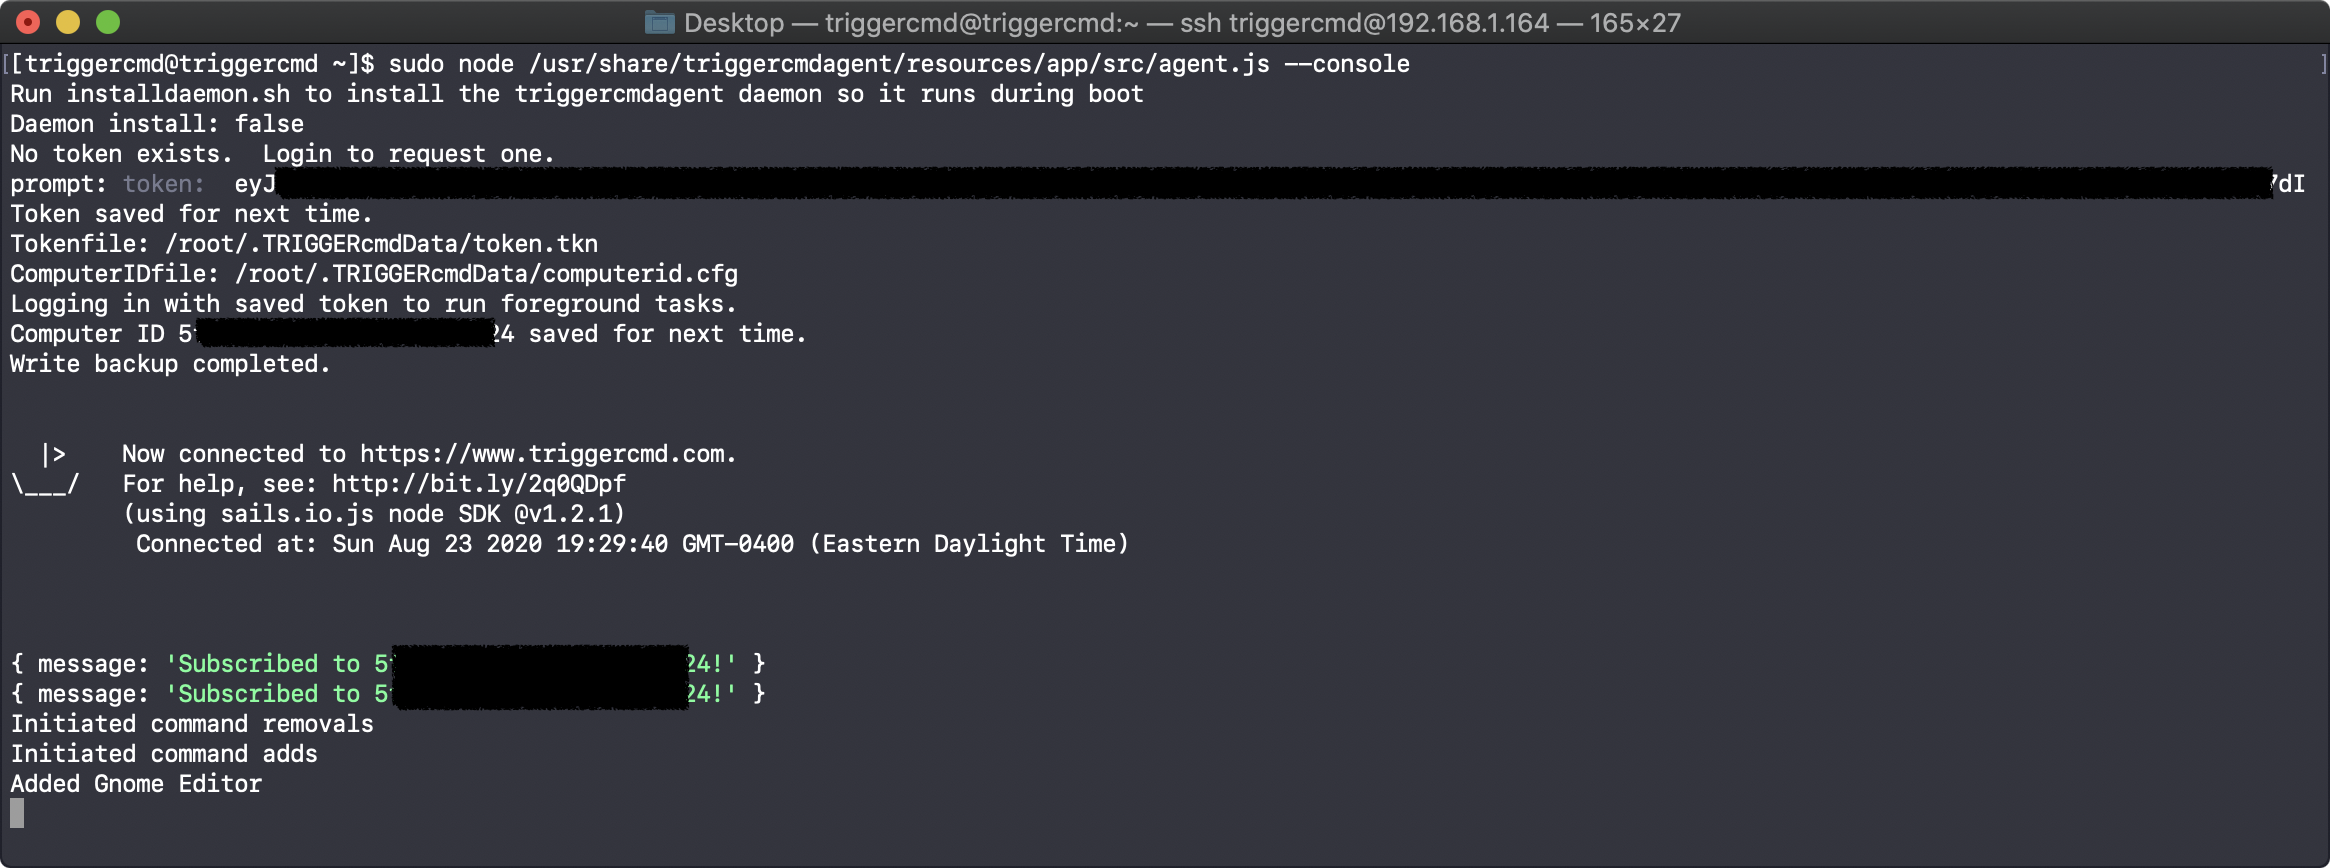
Press Ctrl + c to cancel out.
Now that we know this works, let's install and run it as a daemon (background service).
Install it as a service
sudo sh /usr/share/triggercmdagent/resources/app/src/installdaemon.sh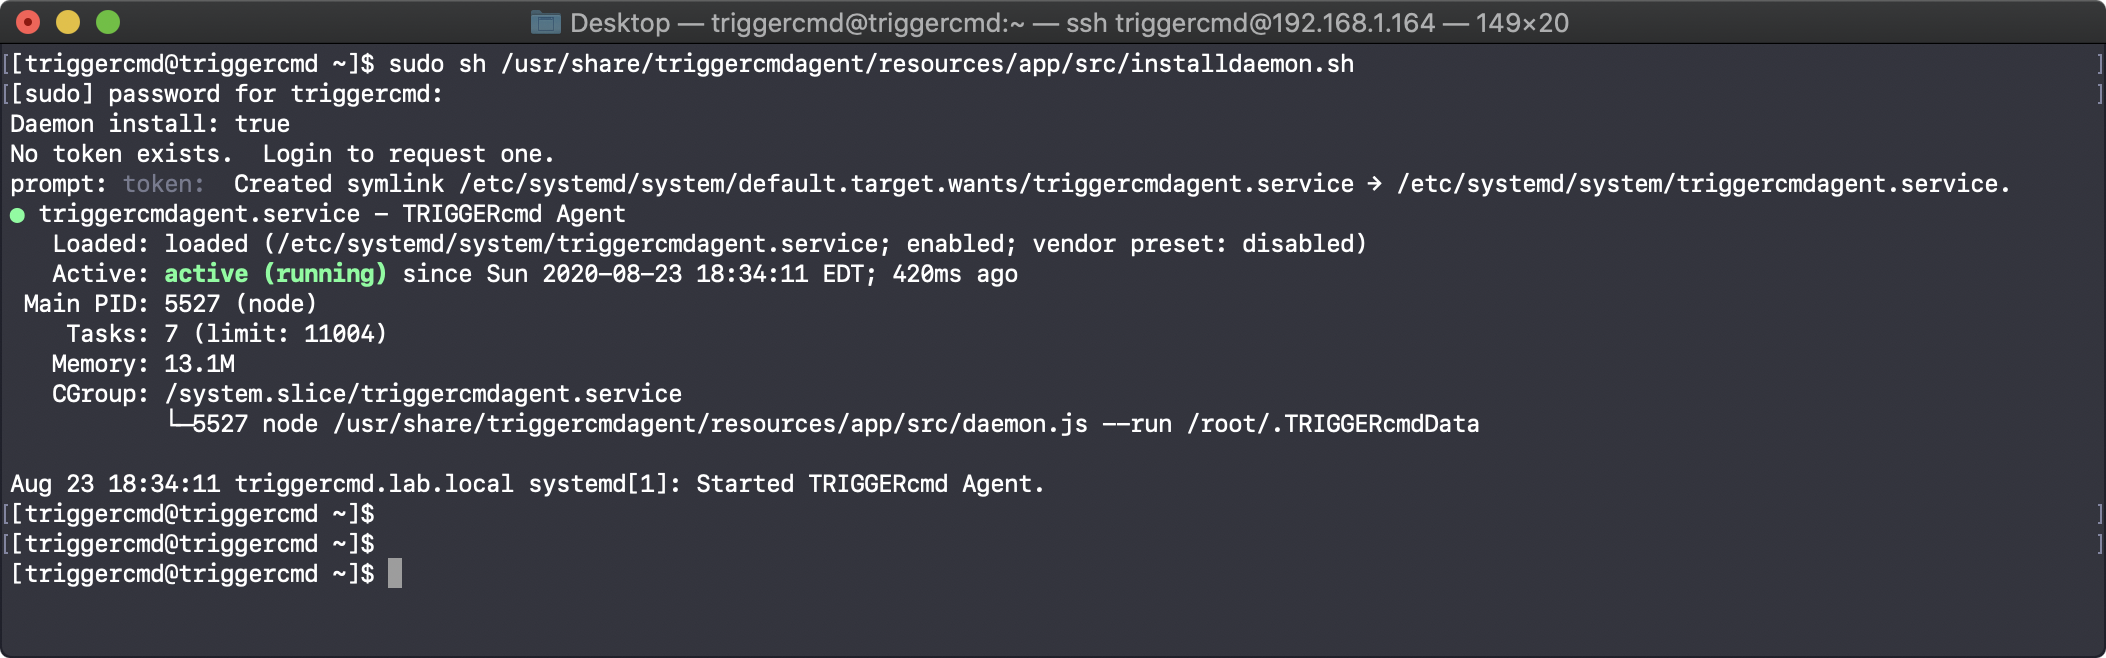
Verify the service is running correctly
systemctl status triggercmdagent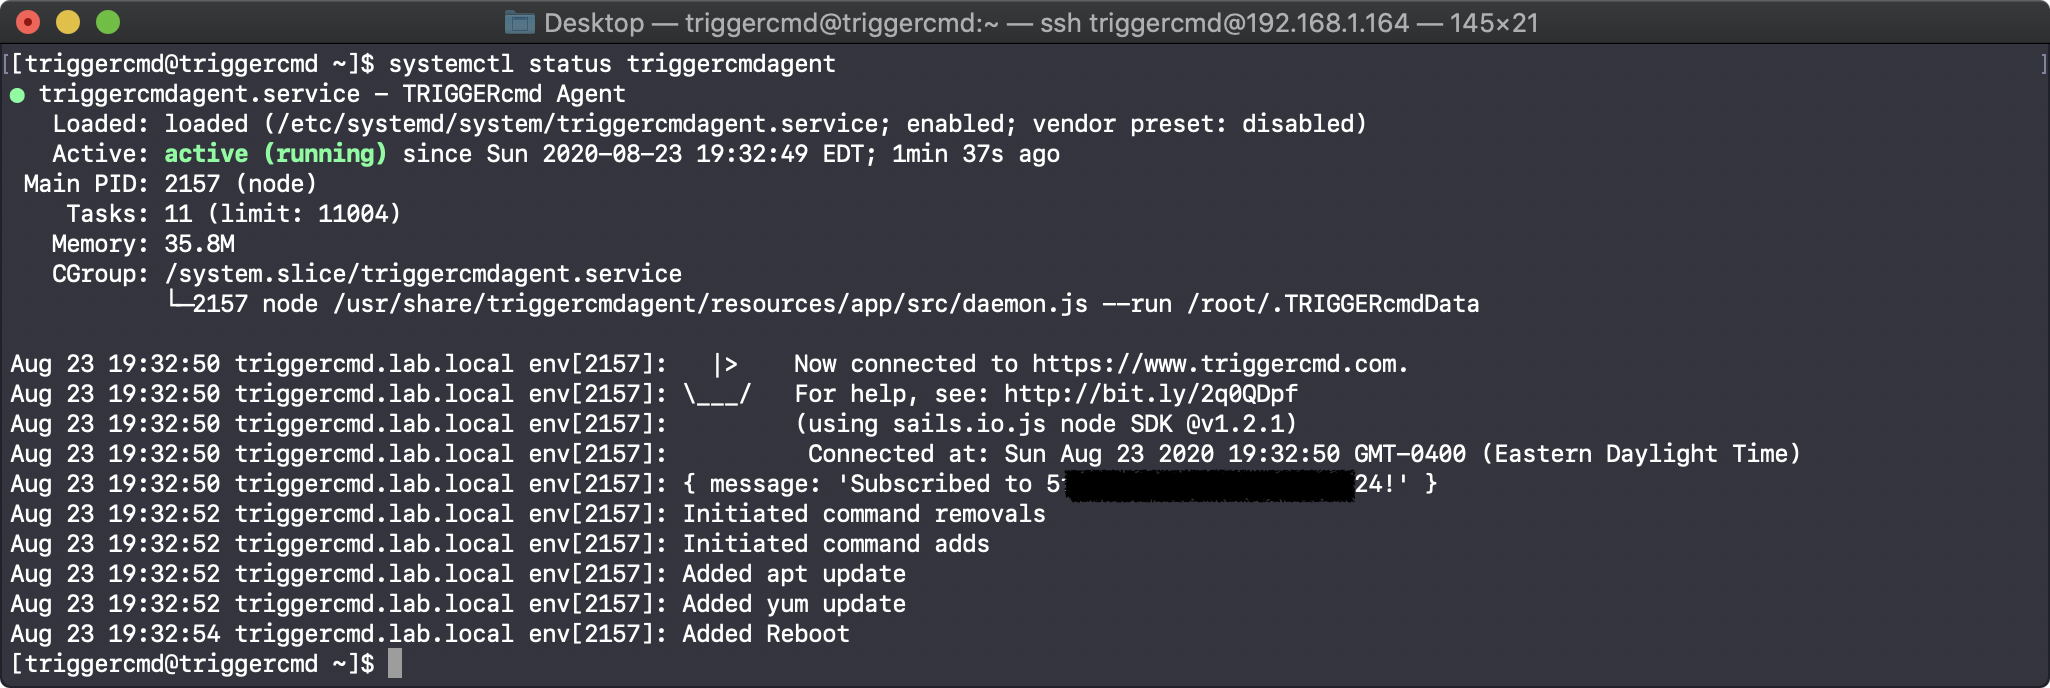
Edit the trigger commands file
sudo vim /root/.TRIGGERcmdData/commands.json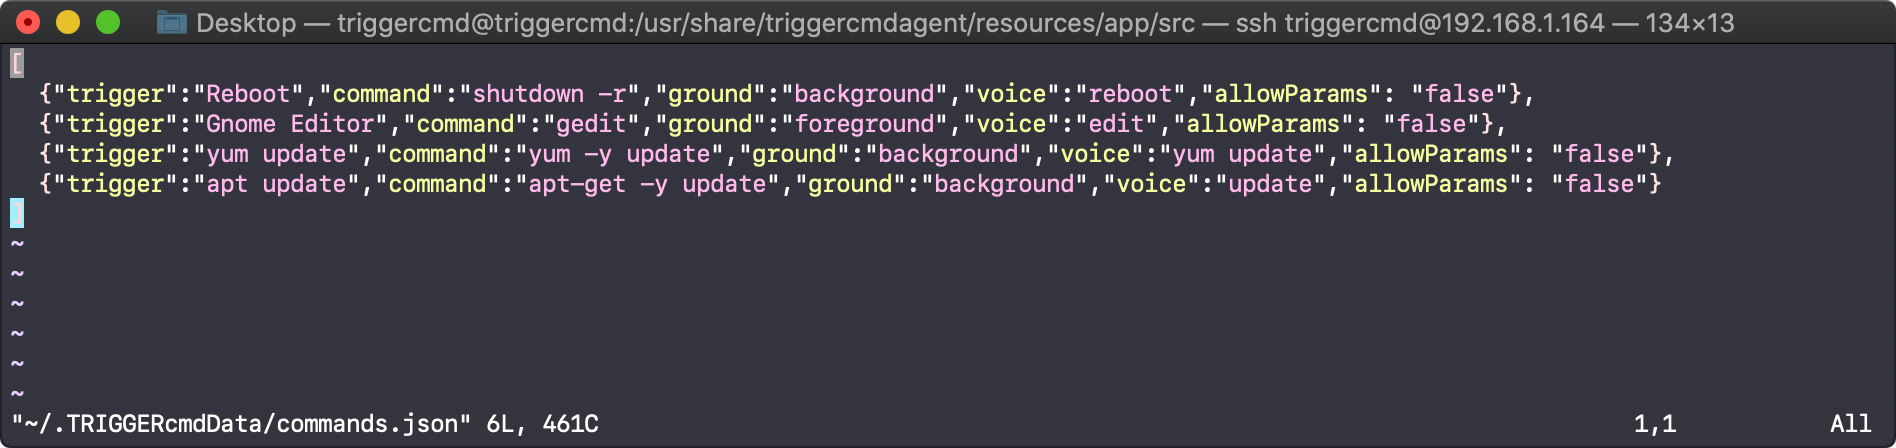
Move the cursor to the second line and delete the first two lines that start with {"trigger": (Hint, press dd to delete a whole line)
Next, move the cursor over to the next lines and edit them as follows
Remember, press "i" for insert and use the cursor to navigate around.

[
  {"trigger":"Enable VPN","command":"/root/Enable_VPN.sh","ground":"background","voice":"Enable VPN","allowParams": "false"},
  {"trigger":"Disable VPN","command":"/root/Disable_VPN.sh","ground":"background","voice":"Disable VPN","allowParams": "false"}
]
Press escape, colon wq to save
ESC :wqNow, let's move the Enable and Disable VPN scripts into their proper locations
sudo mv ~/Enable_VPN.sh /root/Enable_VPN.sh
sudo mv ~/Disable_VPN.sh /root/Disable_VPN.sh
Let's verify this works by going into the TriggerCMD web interface and attempting to run these triggers
Login to triggercmd.com and under Your Computers, select View Triggers.
You should see a trigger for both Enable and Disable VPN. Click on Trigger for Enable VPN.
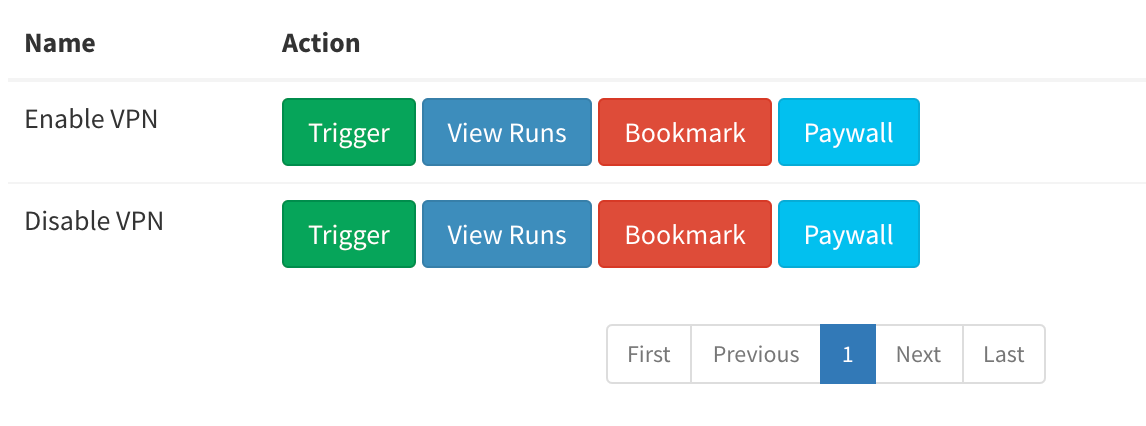
Login to the ASUS router and verify that the VPN setting was enabled. If everything looks good, click on Disable VPN and confirm that VPN disables. You may need to refresh the browser after each Trigger. Also, please allow 1 min to pass between each trigger as the free version of triggerCMD limits triggers to every 60 seconds.
Next, we are ready fort part 4 where we will call these triggers using Siri